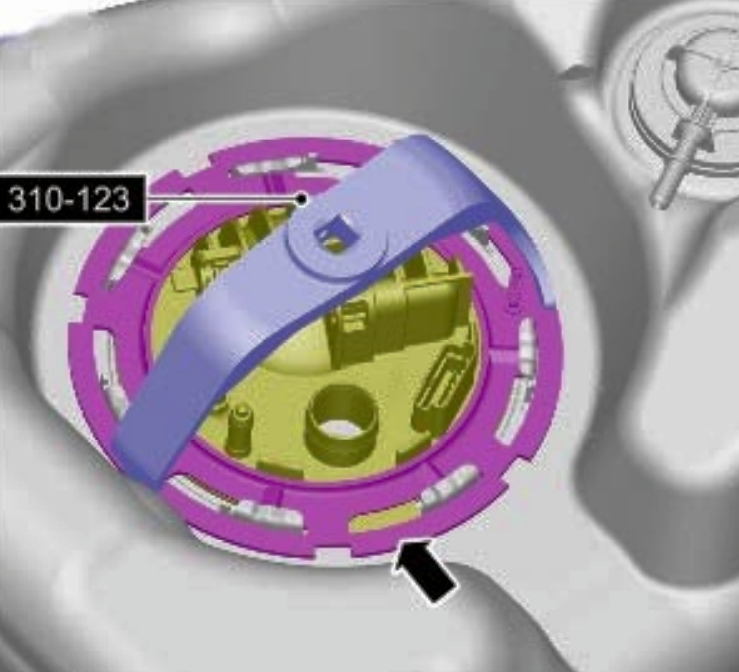
Land Rover Discovery 4 Fuel Pump And Sender Unit
Removal
1 – Disconnect the battery ground cable.
2 – Raise and support the vehicle.
3 – Drain Fuel
4 – Torque: Bolts 6 Nm & Nuts 3 Nm


5 – Remove the tamper proof cover.

6 – Make sure that all openings are sealed. Use new blanking caps.

7 – Be prepared to collect escaping fuel and make sure that all openings are sealed. Use new blanking caps.

8 – Secure the component to the transmission jack. Do not lower the fuel tank more than 250 mm. Note the orientation of the two rear retaining bolts and washers. Using a suitable transmission jack, lower the fuel tank sufficiently only to access the top of the fuel tank. General Equipment: Transmission jack Torque: 45 Nm

9 – Be prepared to collect escaping fuel. Make sure that all openings are sealed. Use new blanking caps.

10 – Some variation in the illustrations may occur, but the essential information is always correct.

11 – With assistance, remove the fuel tank.

12 – Make sure that all openings are sealed. Use new blanking caps.

13 – Note the position of the locating tang. Some variation in the illustrations may occur, but the essential information is always correct.

14 – Remove and discard the O-ring seal.

15 – Take extra care not to damage the fuel tank level sensor float and arm.

16 – Take extra care not to damage the fuel tank level sensor float and arm. Do not disassemble further if the component is removed for access only.

17 – Take extra care not to damage the fuel tank level sensor float and arm.


Installation
To install, reverse the removal procedure.
If you require any further help with your Land Rover Discovery 4, consider downloading the official repair manual from the link below. In conclusion, this instantly downloadable software based eManual can be view on near all operating systems, tablets or phones.
In summary there is thousands of pictures, text and illustrations that will help you with servicing, repairs or troubleshooting. Above all, by downloading this manual it will give you piece of mind for help with future problems.
LINK : Land Rover Discovery 4 Workshop Manual – The Land Rover Discovery 4 Glow Plug Relay Location

